Injuries, Injuries, when you got me!
Throughout the competitive season, the question is not if I will sustain an injury but how to manage the injuries that I will inevitably receive.
No matter how prepared you are, how strong, or how conditioned you are, there is no guarantee that you will come out without a scratch. On the contrary, to reach new heights, you will need to incur some risk.
For myself and my teammates, Skeleton is full of these risks. Not only do we run the risk of general injuries from maximally sprinting. At the same time, bent-over, in sub-zero temperatures while only wearing lycra, we also must bear with the risk of racing down headfirst at 140km/h, with no brakes! In addition, the positional demands of Skeleton place an even greater risk of injury given its precarious nature. On our stomachs, shoulders rolled forward, hands under our hips, necks straining forward and maintaining a strong isometric contraction to keep our chins from dragging on the ice.
Dealing with any injury can be frustrating, and without a clear plan of attack, you can find yourself lost in constant pain. Neck injuries, in particular, can be one of the toughest challenges for us to work overcome on our own. It is hard to de-load the neck; after all, it does hold up our head!
Working on neck injuries
When dealing with neck injuries, either on me or with a client, I always address them with the same approach.
-
First and foremost, ensure that I have the skills to address the issue!
- Screen for and assess the area! Remember, if you’re not assessing, your guessing!
-
There is no shame in recognizing that you do not have the skills to help with a particular neck injury!
- Moreover, if I’m able to even work on it myself.
- Don’t be afraid to refer out! Teamwork makes the dream work!
-
Second, following the information I gather from my screening and assessment, I figure out the least invasive method of treatment I can apply to induce positive change.
-
I always start with a hands-off approach. You can always apply more, but you can’t take it back once it’s applied. It’s best to start small and work your way up.
-
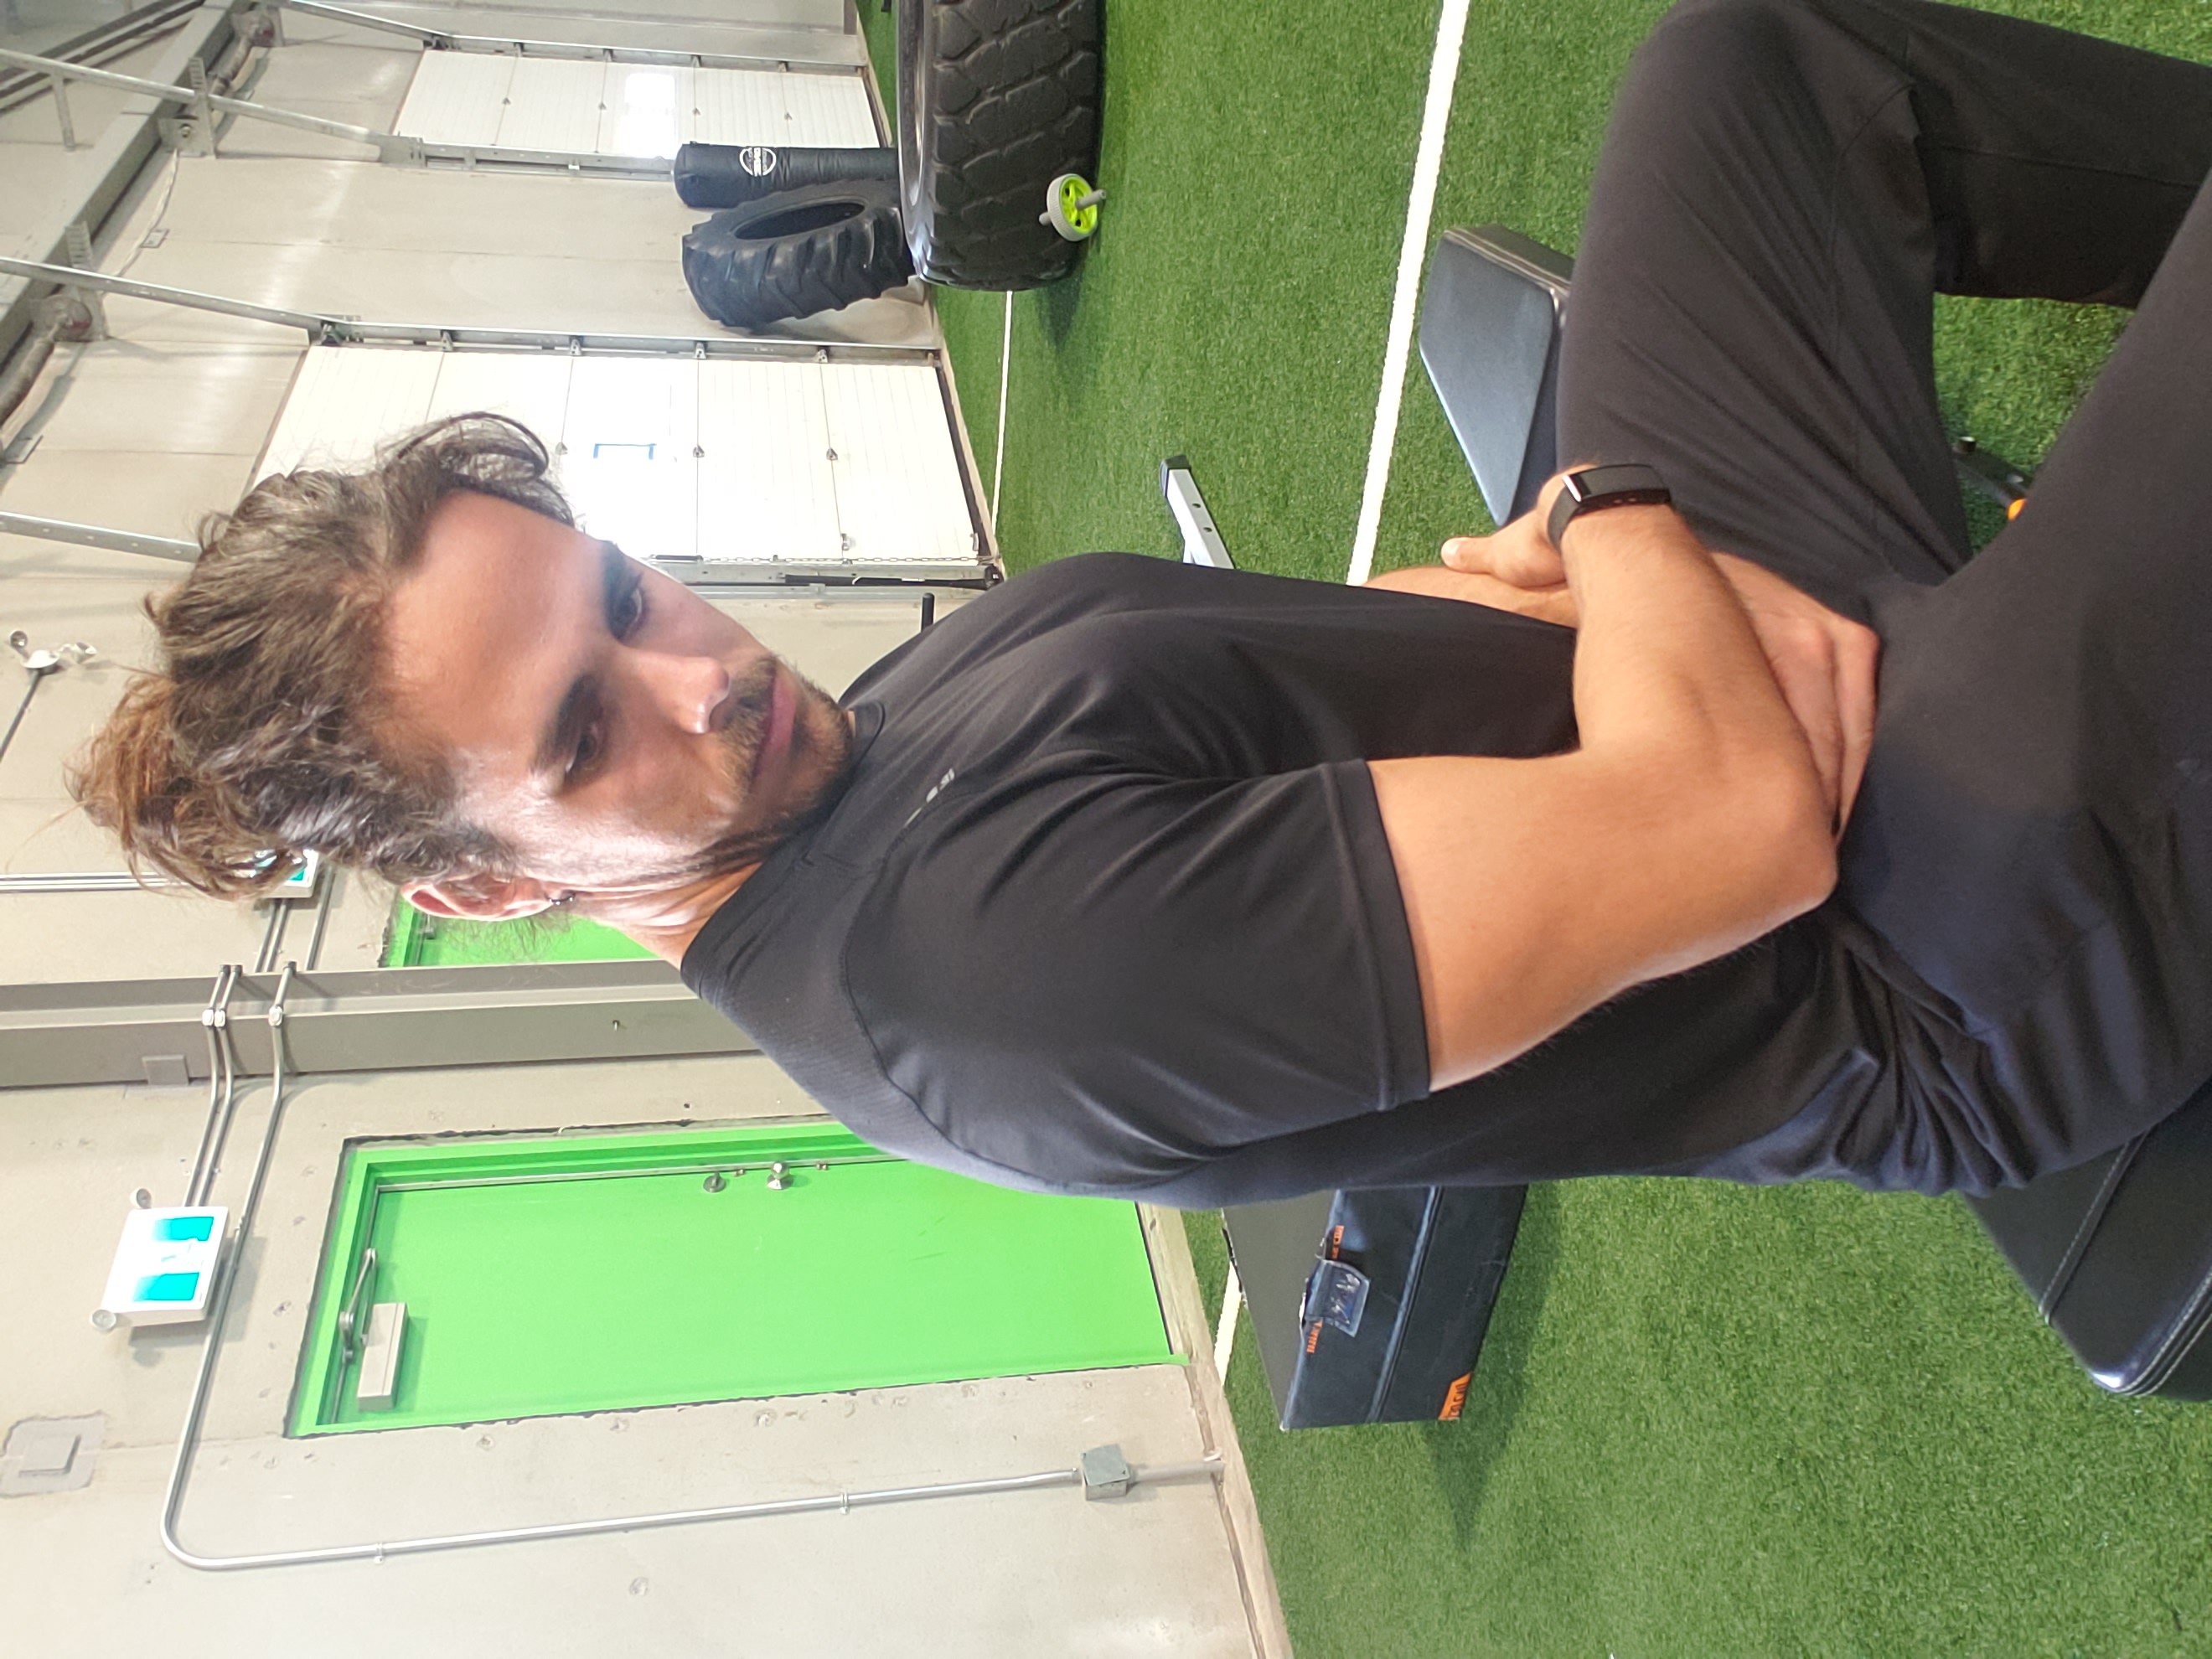
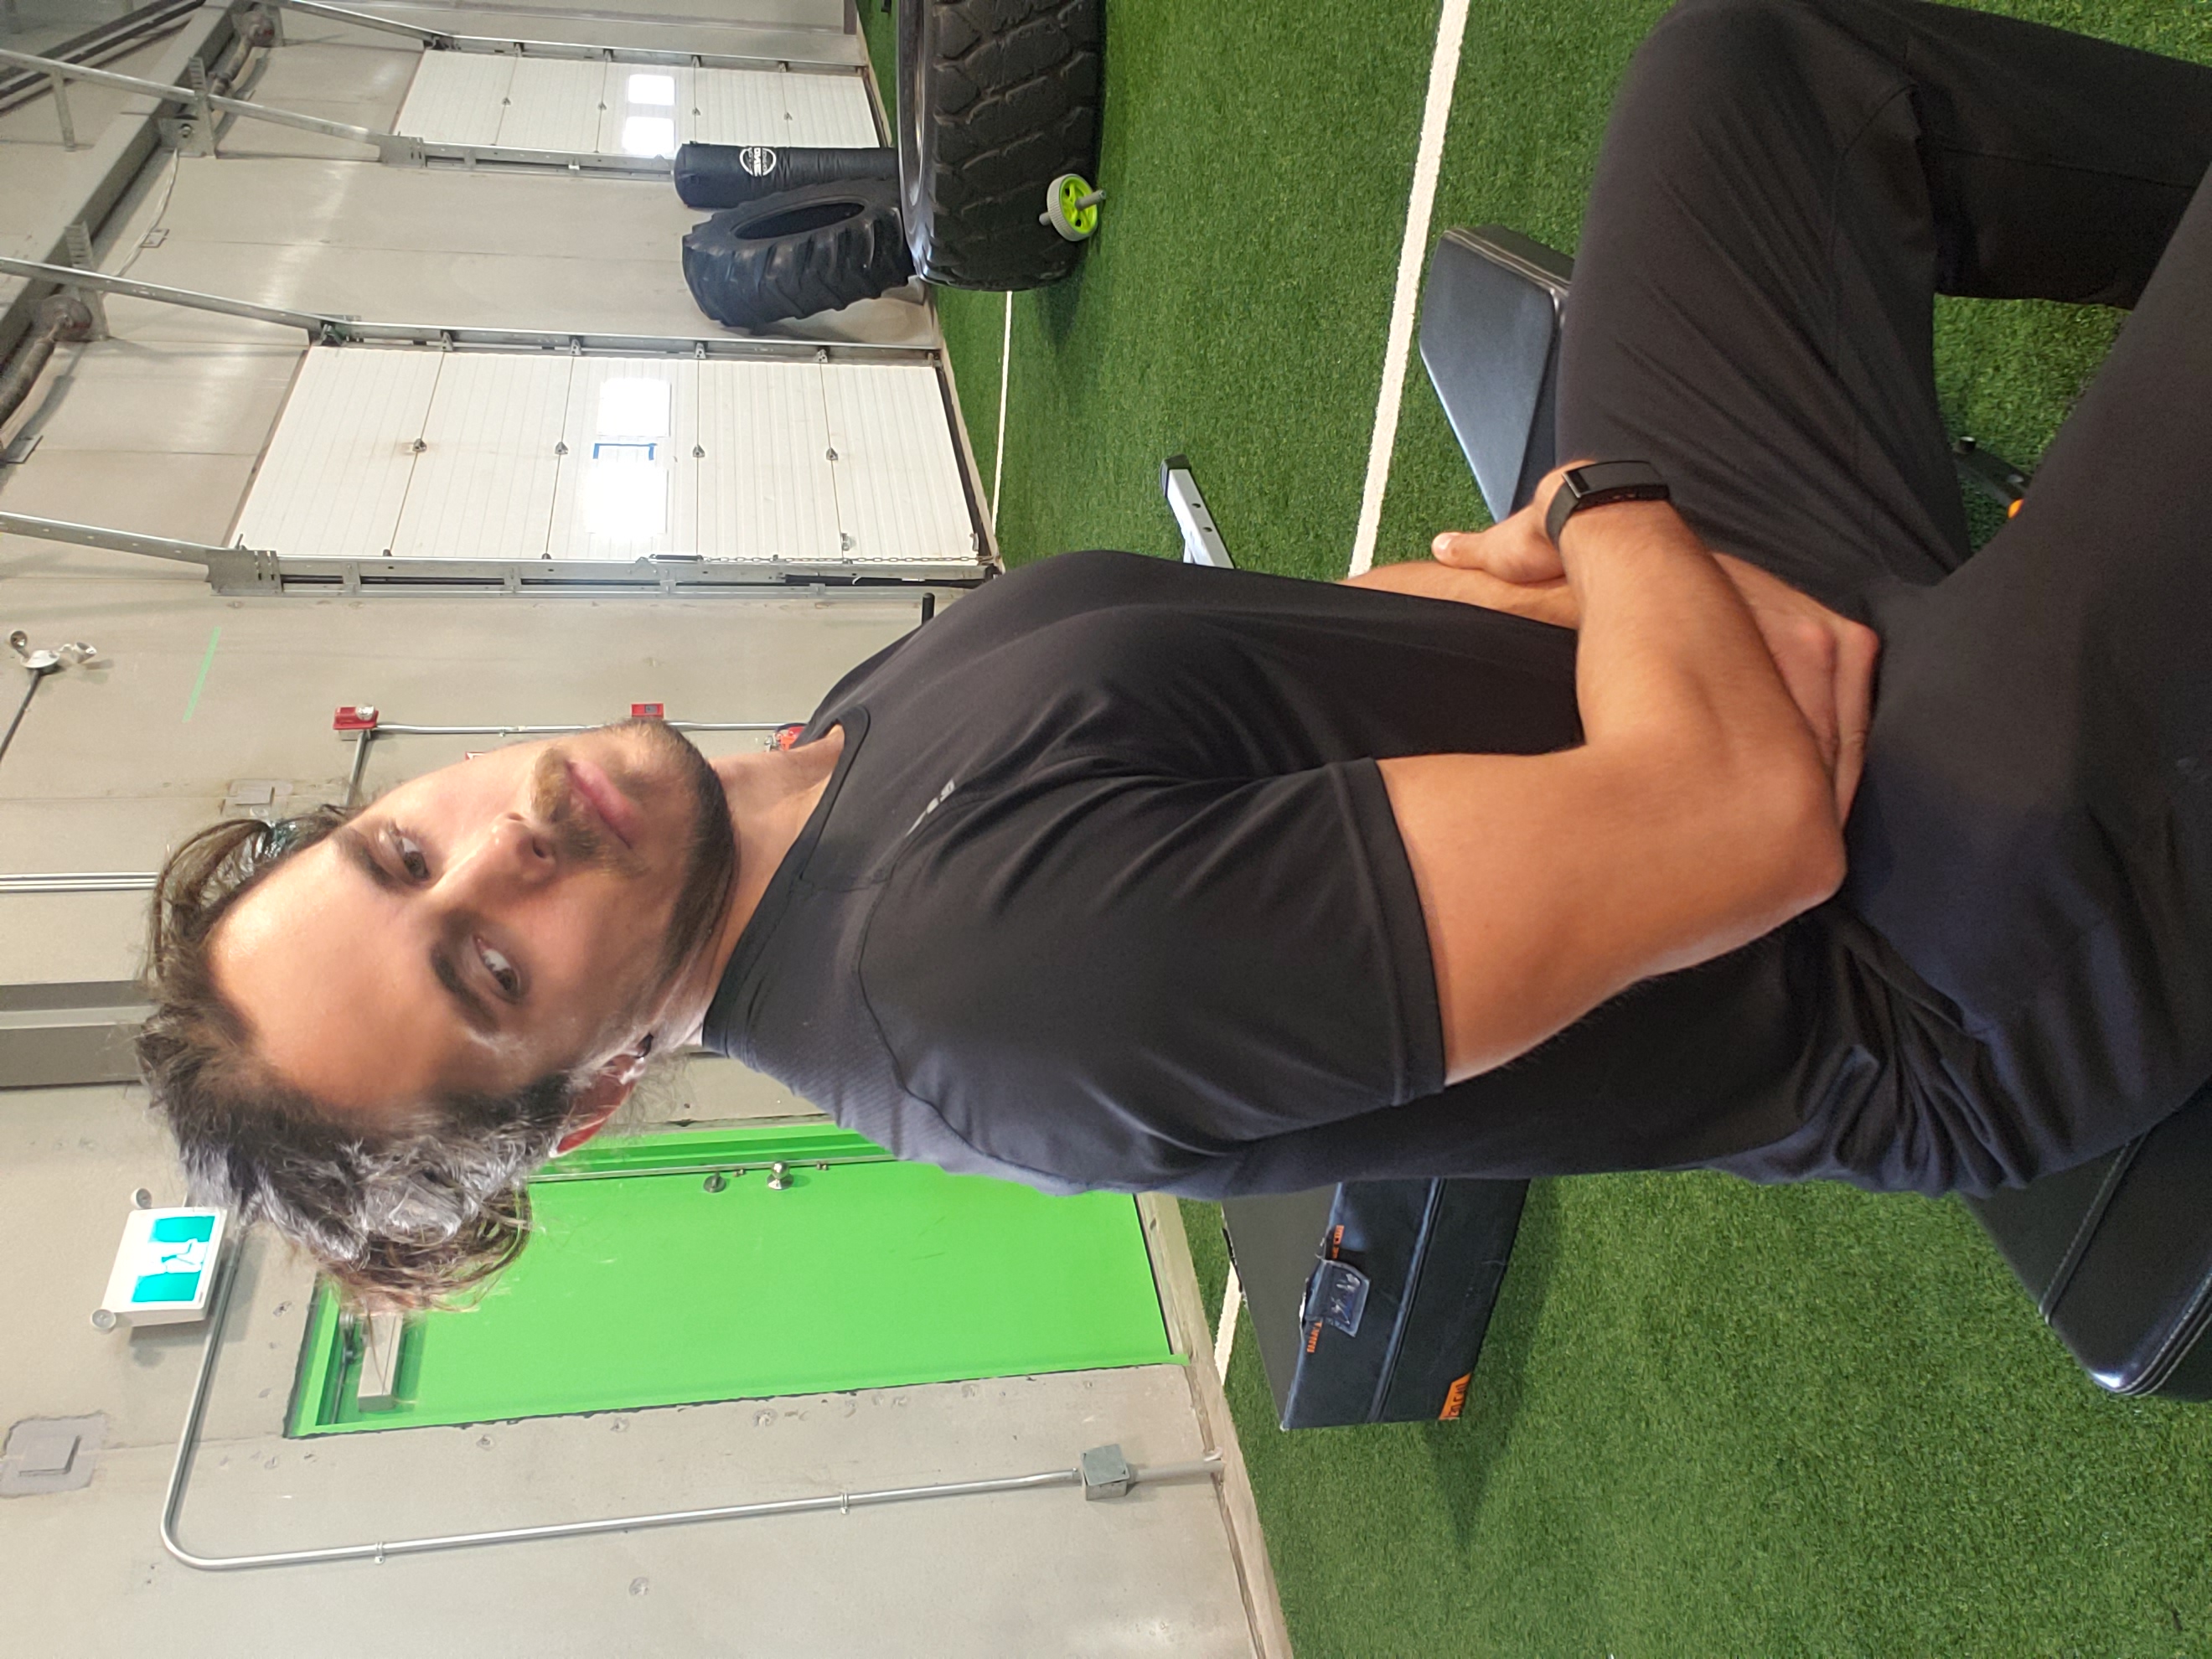
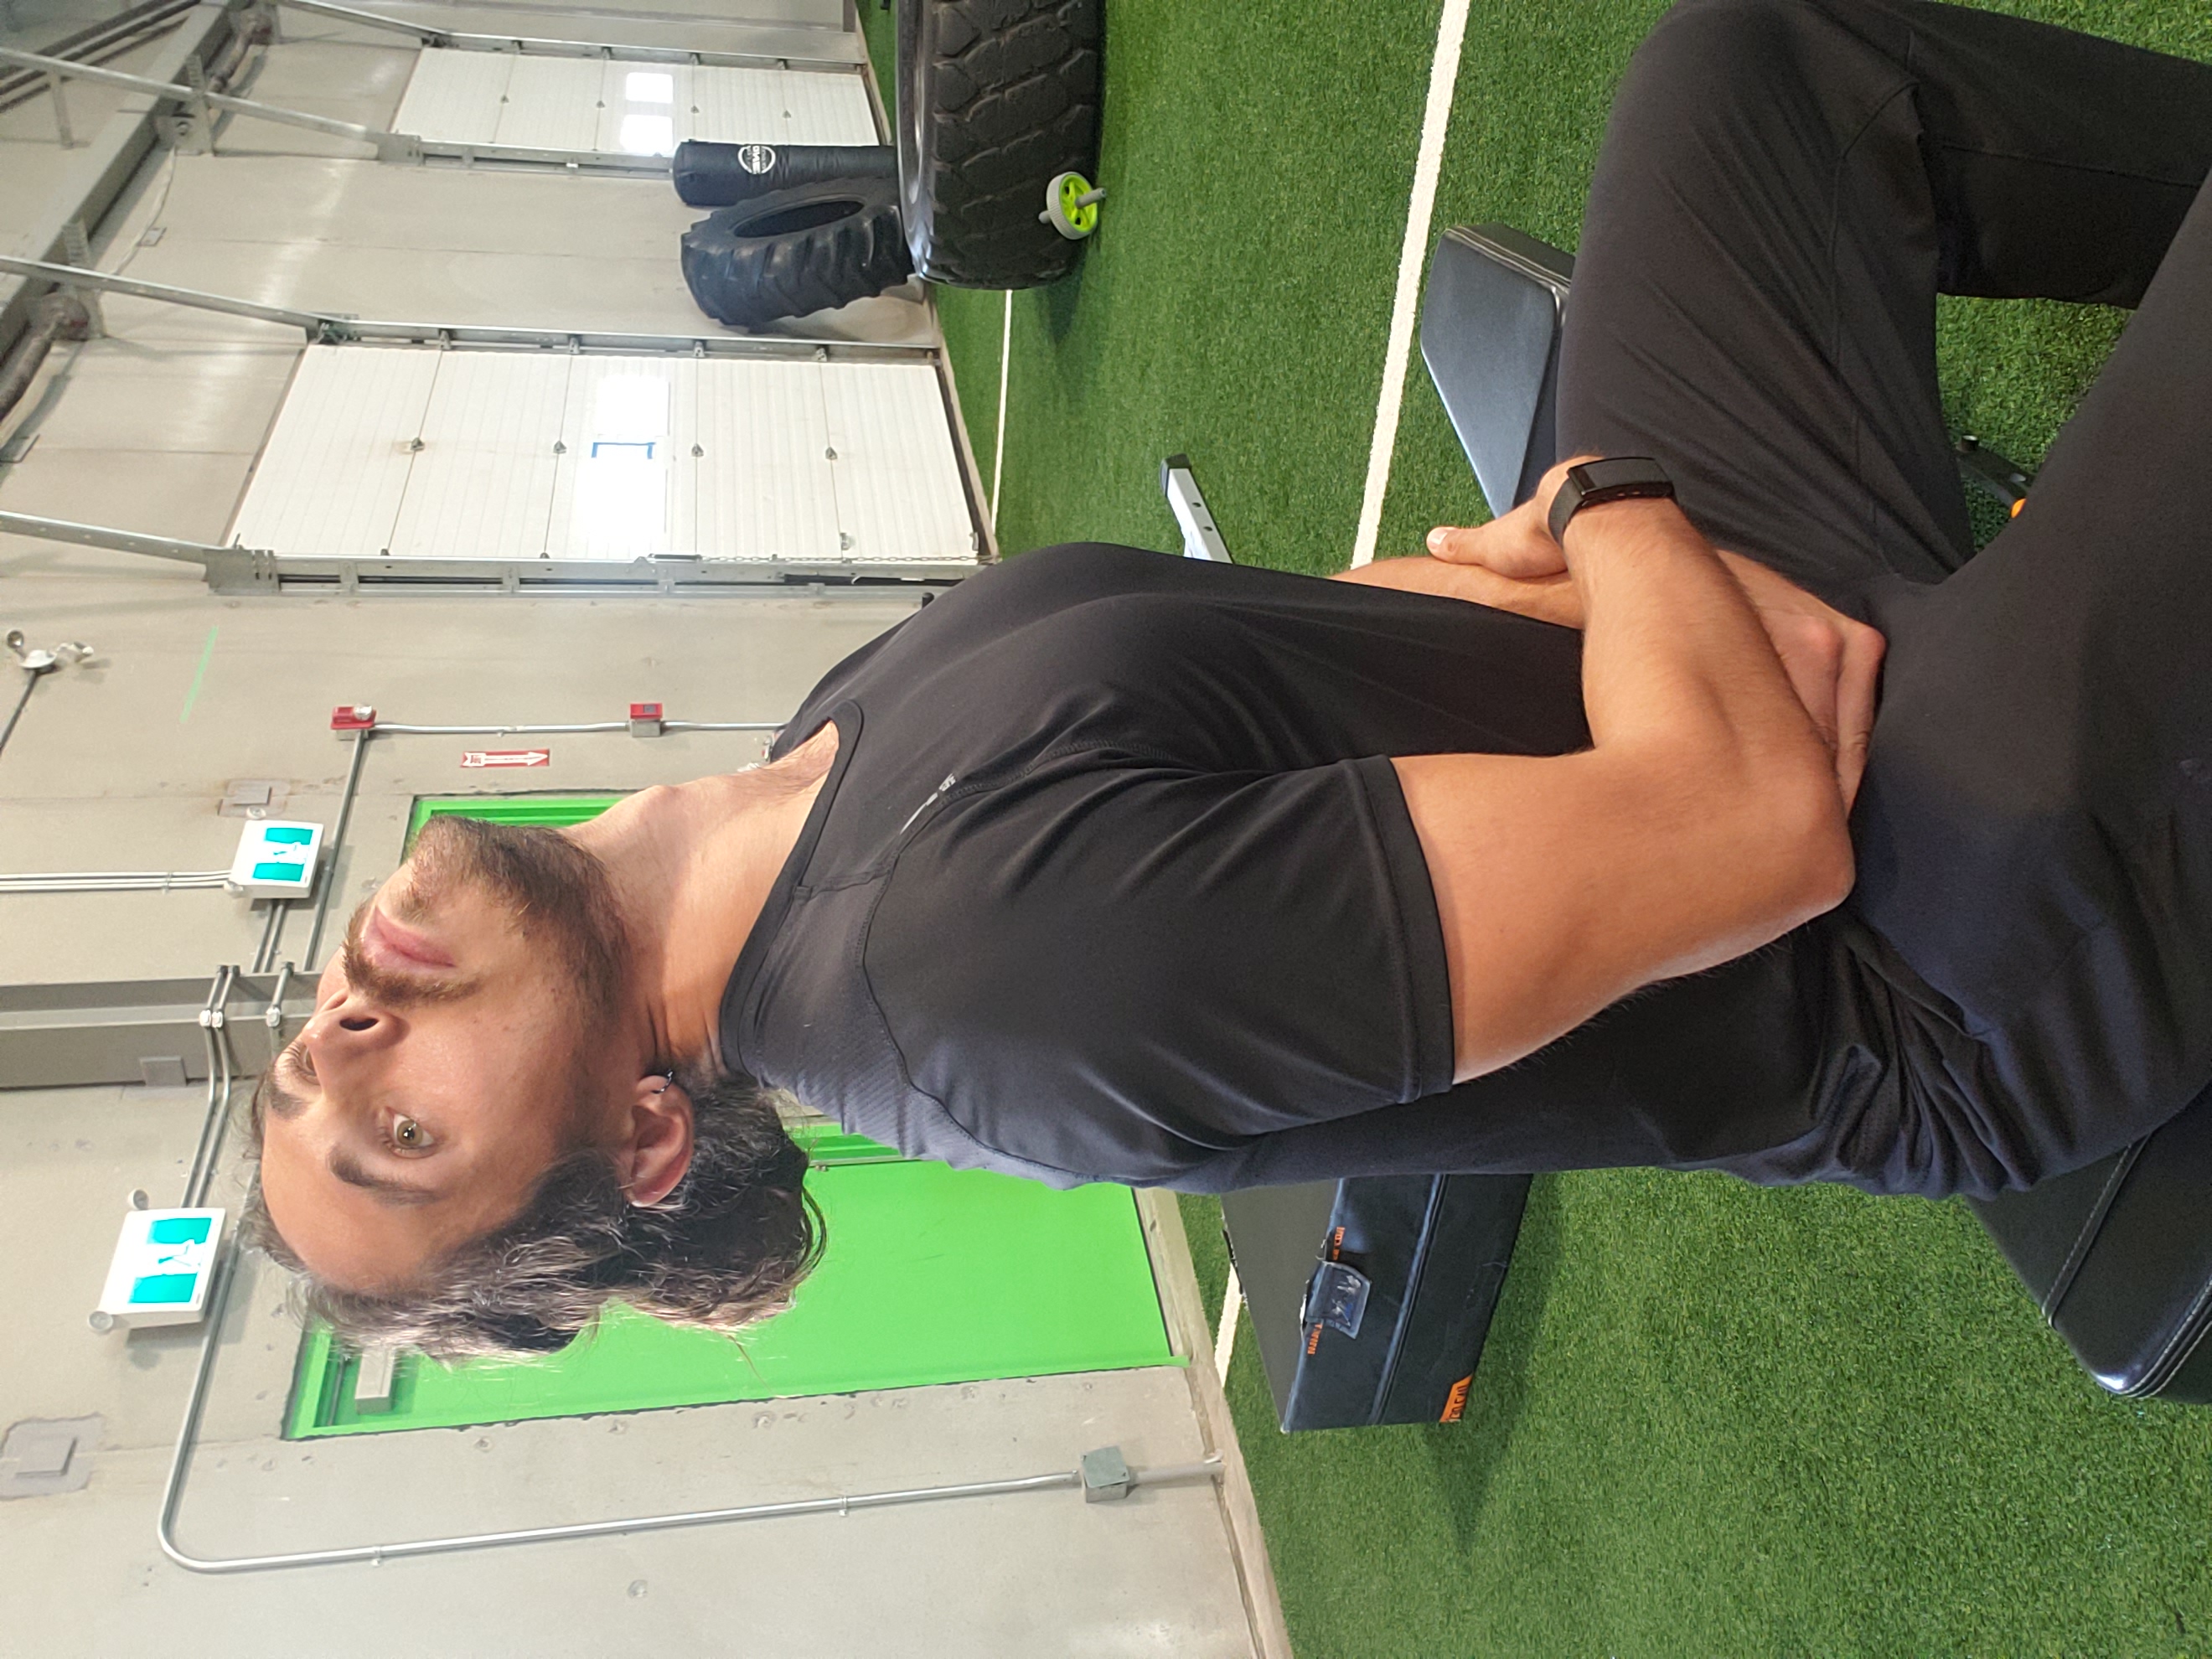
As extension plus rotation typical is the issue, I spend most of the time working on chin tucks, and neck CARs. If I feel more adhesion in one particular area, I will spend more time there.
- I will do bouts of 30 seconds and do mini-retests after each round.
- I then slowly add more range of motion until I’m completing full rotations of my neck pain-free.
-
As extension plus rotation typical is the issue, I spend most of the time working on chin tucks, and neck CARs. If I feel more adhesion in one particular area, I will spend more time there.
-
I always start with a hands-off approach. You can always apply more, but you can’t take it back once it’s applied. It’s best to start small and work your way up.


-
From there, I will begin to apply the next best option.
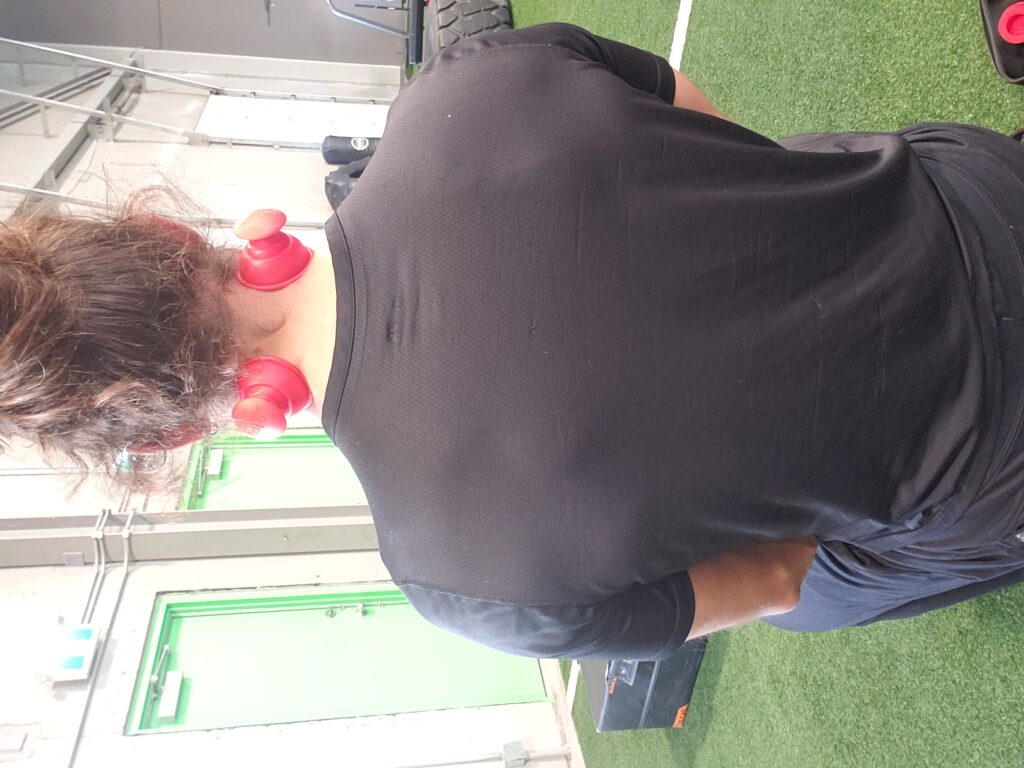
- Typically, I use myRockPods as they’re simple to apply and do not impede my movement and they are hands-free.
- The protocol will mirror the prior; bouts of 30 seconds, working to greater ranges of motion.
- If it’s especially tender, I will use a combination ofRockSauce and thecomb attachment for the Mohawk to create some novel stimuli and ease the irritated tissue.

RE-TEST
-
Third, RE-TEST!!
-
After each modality I apply, I check to see if positive change is happening.
- Did movement alone help with the issue? Perfect!
- Did applying tools improve glide and function? Great!
- Did bringing awareness to the neck improve the strength and understanding of the area? Now we’re talking!
- Everyone’s body is different and will respond to modalities differently.
- Your goal should be to identify which modalities best suits the situation and integrate their application into a treatment plan.
-
After each modality I apply, I check to see if positive change is happening.
-
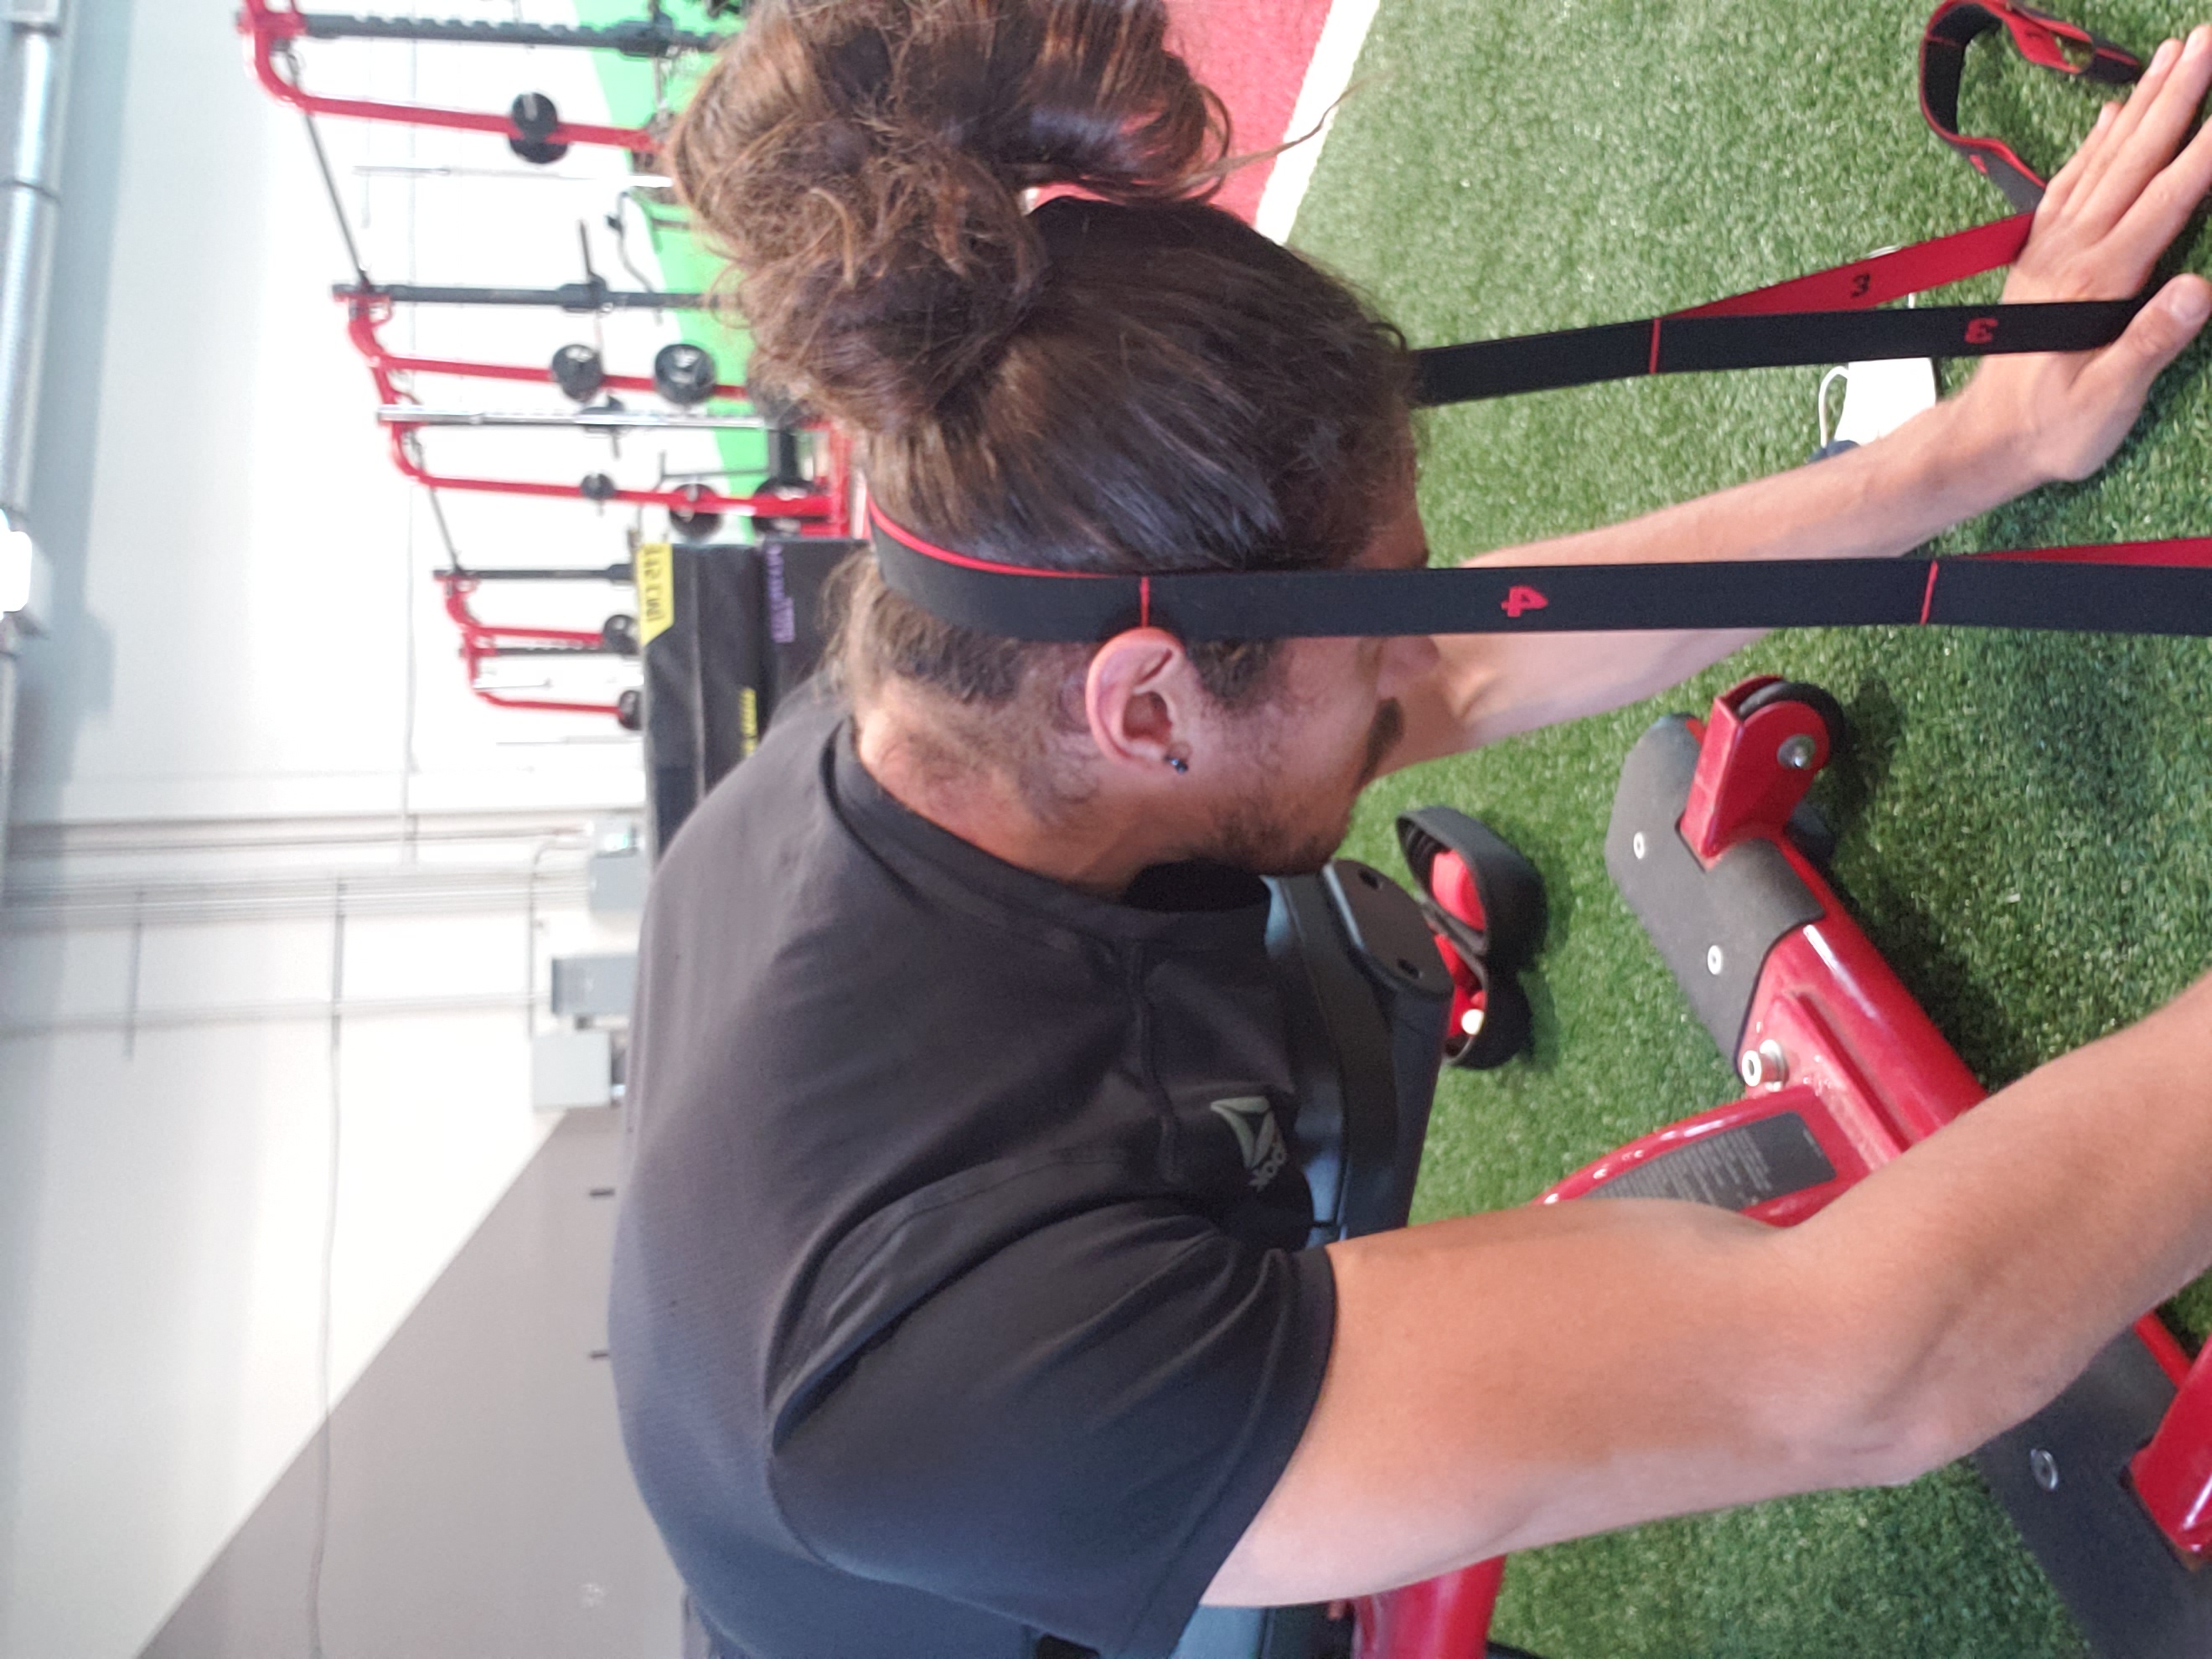
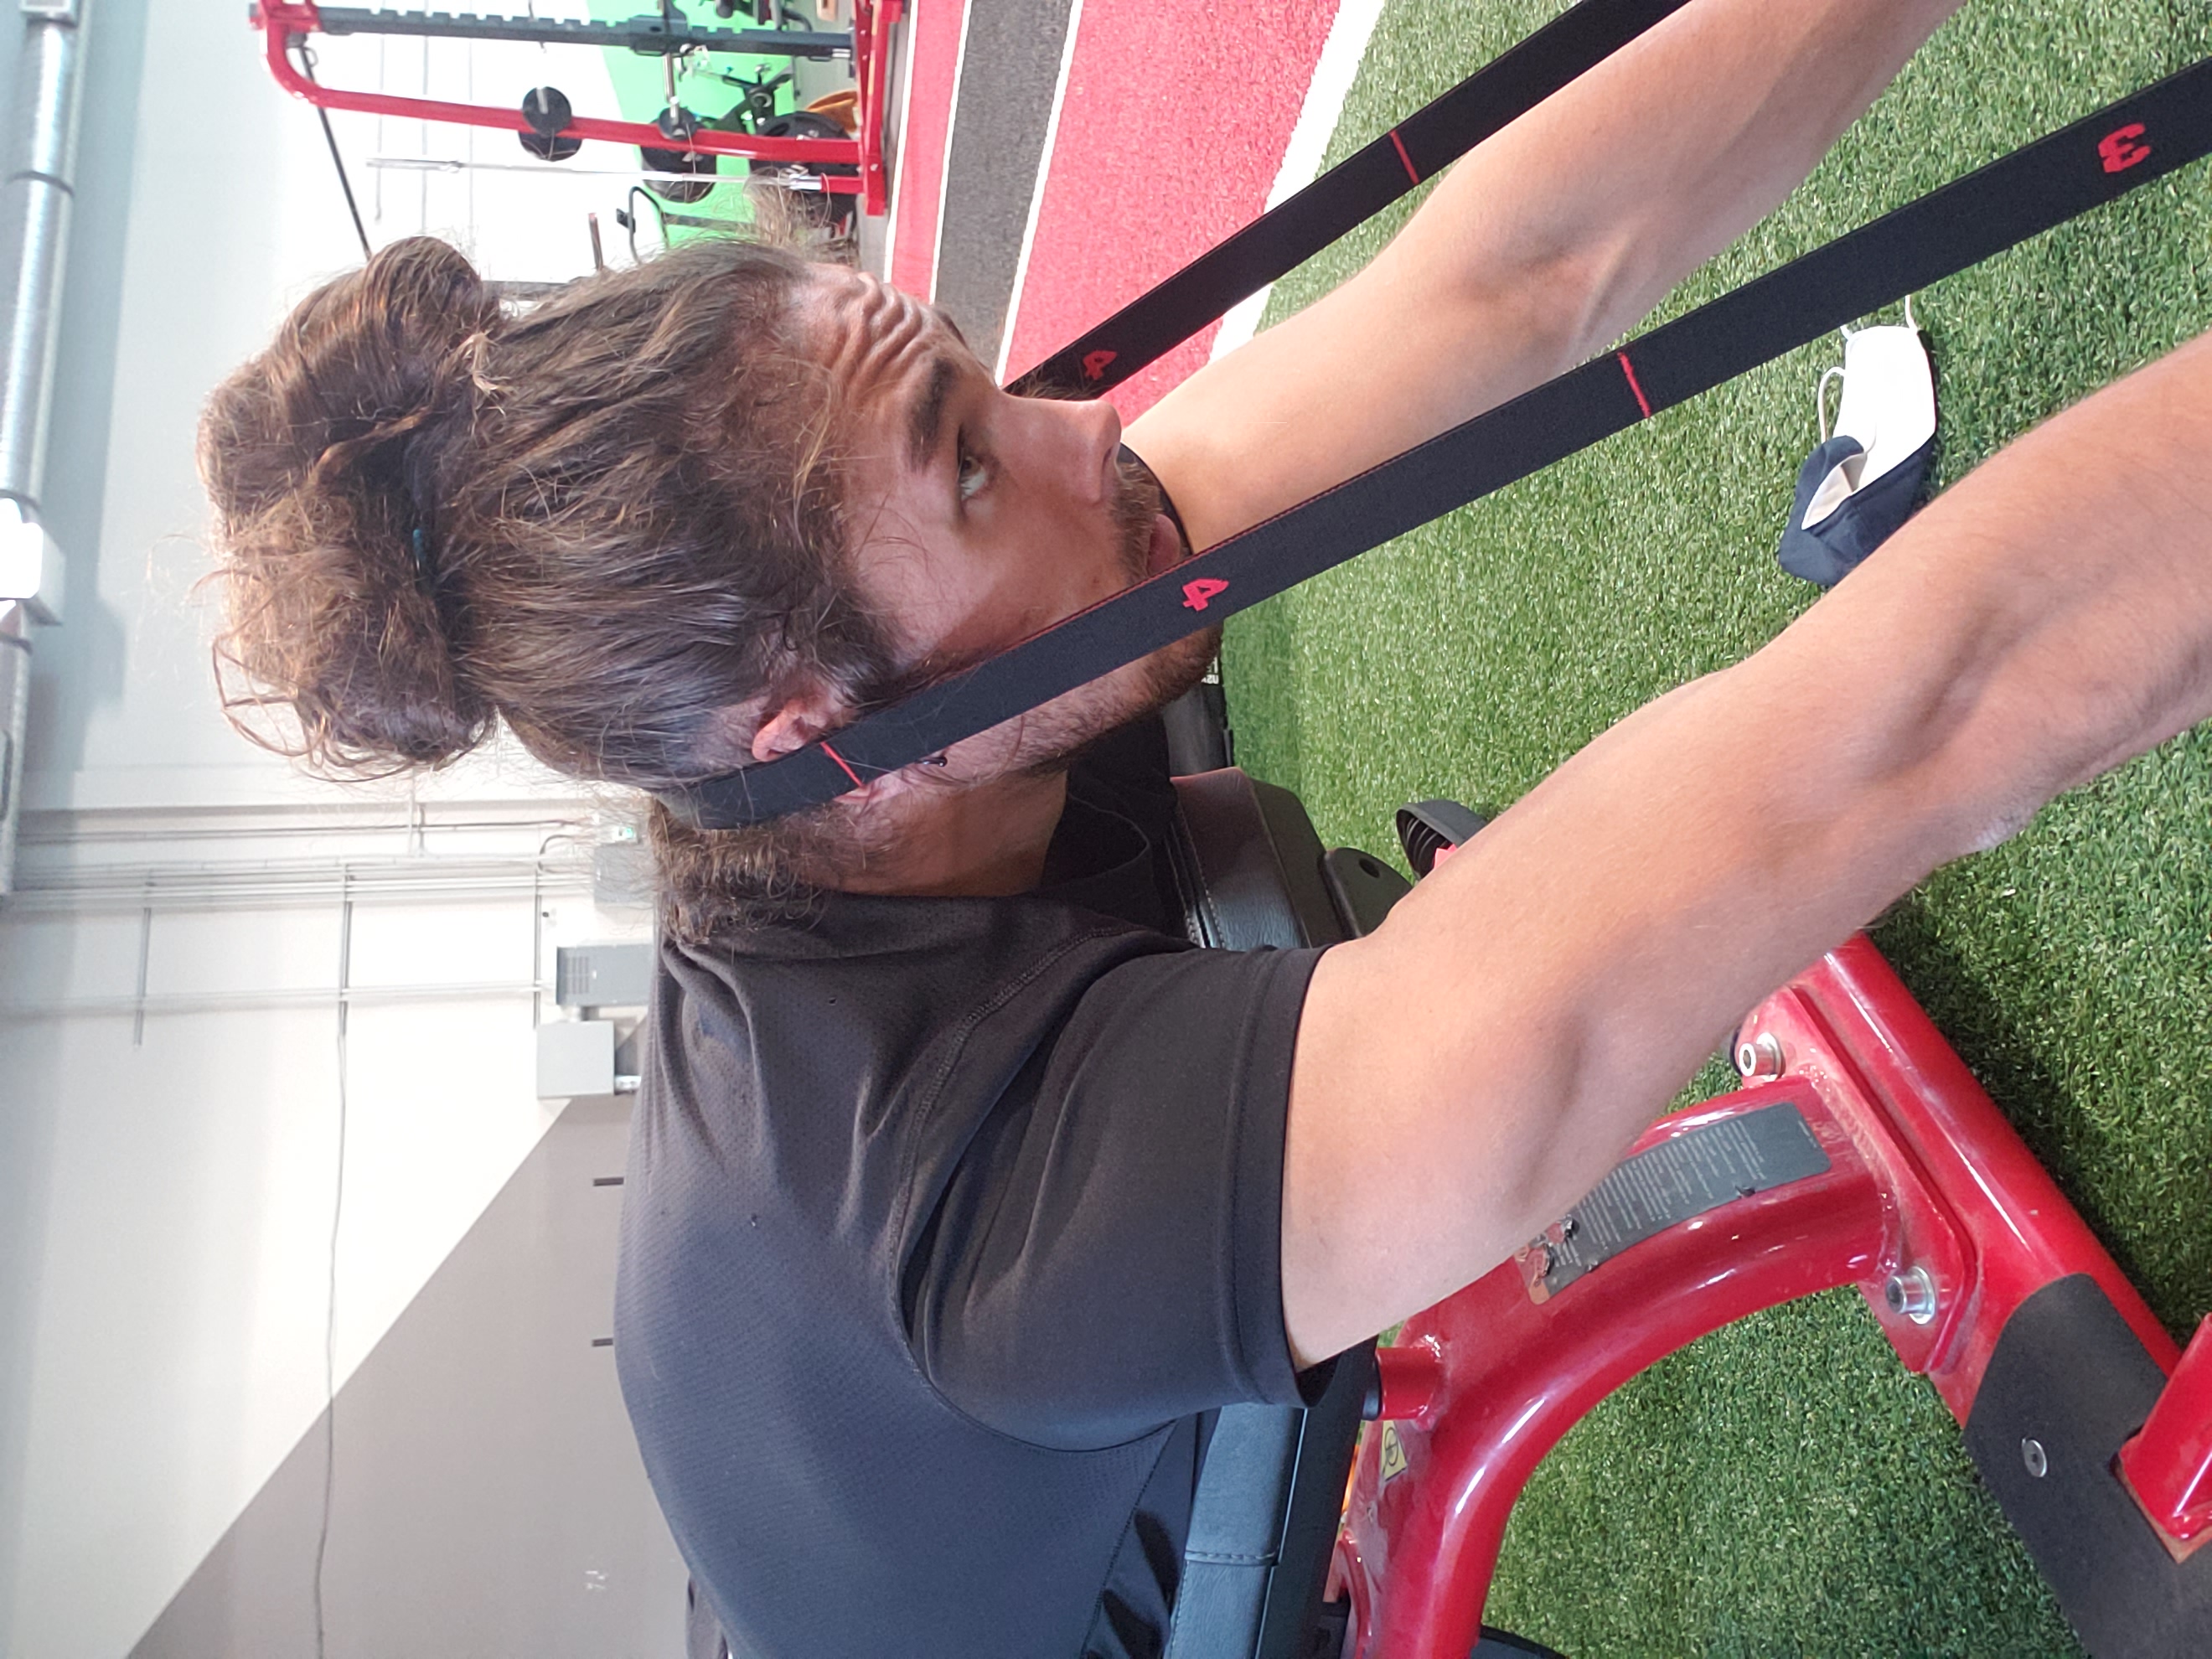
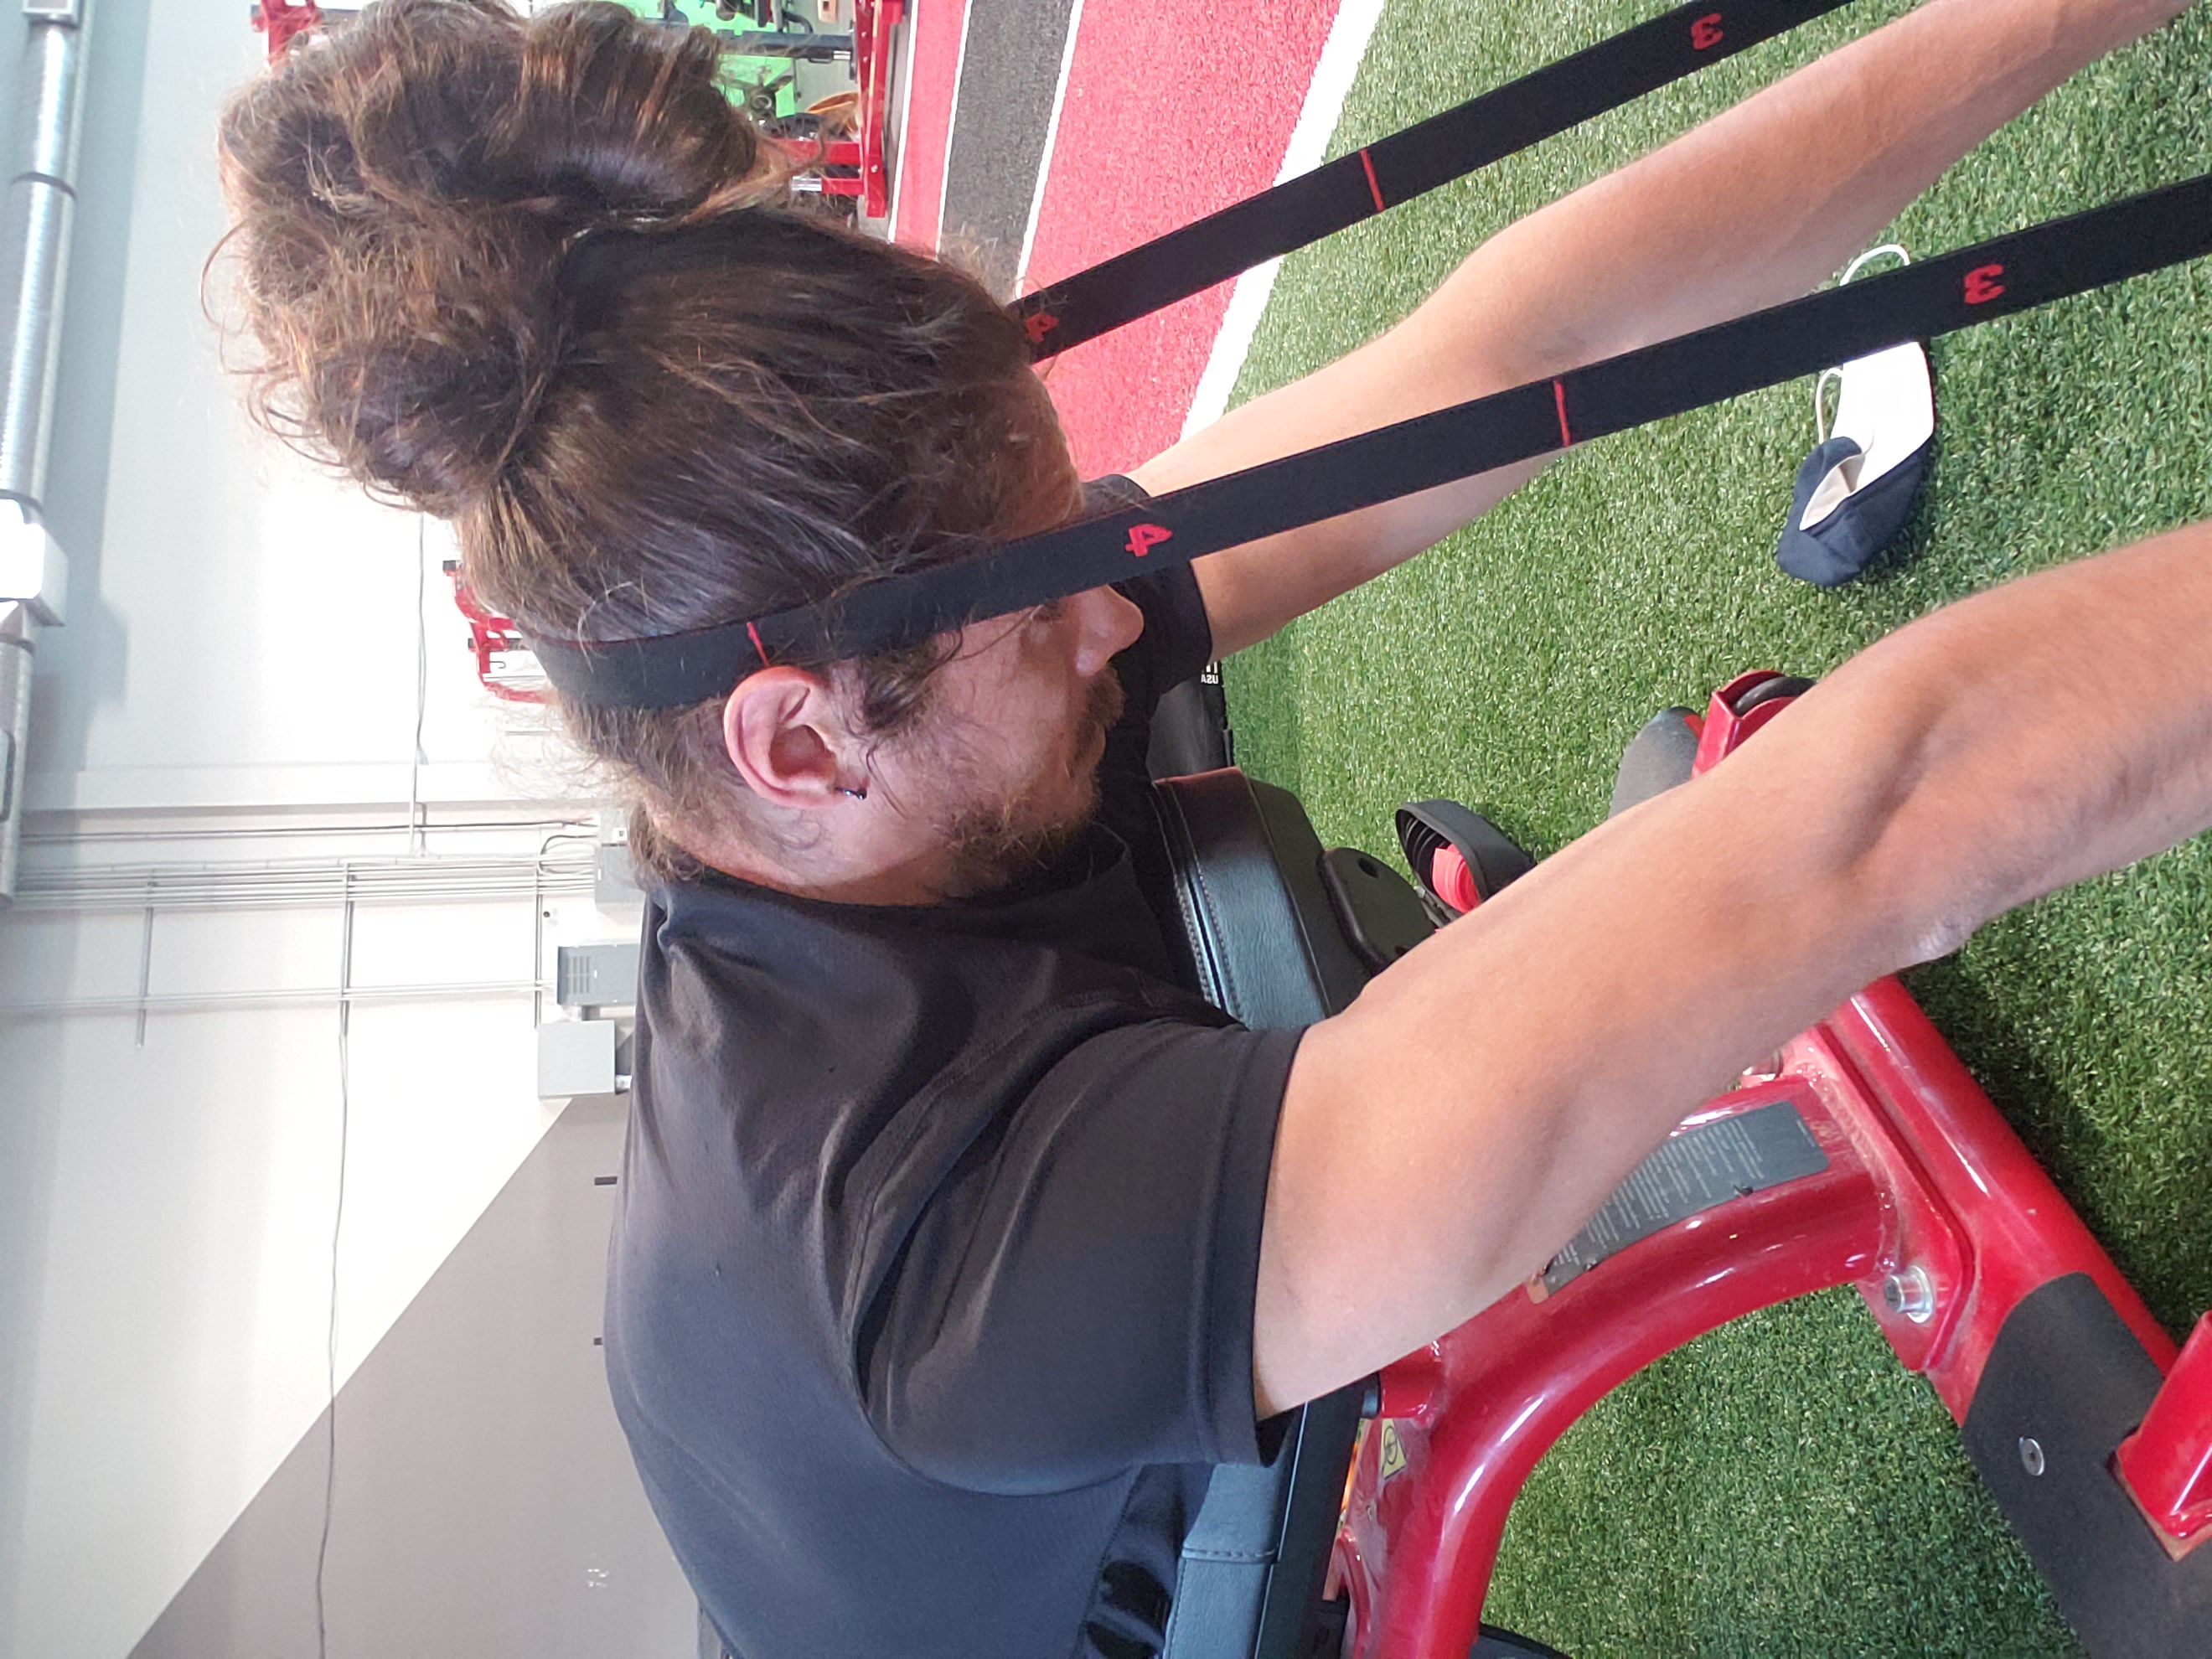
Fourth, now that the tissue is mobilized, increased proprioception, and stabilized, how can we integrate it in a function/practical movement?
- For Skeleton purposes, I try to replicate my sport-specific positions.
-
Like the above steps, I begin with complete range movements with low internally-loaded isometrics in various positions.
- I then move to externally loaded isometrics and possible low-load resisted movements.
-
The total time-under tension I use varies from 30 seconds upwards to 90 seconds depending on the time of year and state of my injury.
- If I’m looking for more endurance and tissue tolerance longer and for more maximal strength lower.
- As with most injuries, strong resilient tissue rarely is the cause of problems, but weak, unprepared tissue is.

What to remember!
In summary, injuries happen, and we do our best to keep the mat bay, but when climbing the mountain of improvement, you are bound to slip and lose your footing from time to time. The best course of action for when this inevitably occurs is to have a plan!
- Screen and Asses – Who, what, where, how, and why?
- Start small and build! – you can always add more!
- Re-test, re-test, re-test! – figure out what works and what doesn’t
- Move! – Movement is medicine for the body, and you’re only as strong as your weakest link.
Learn more about our RockTape educationhere
Troy Wilson
follow me onIG
Athlete/ Kin and so much more!


