Cups: not just for drinking and not just for relaxing!
I need to come clean! I can’t keep living this charade! I must admit that early in my athletic and professional careers, I believed that cups were only for reducing pain, managing injuries, and looking like a pirate that the KRAKEN has attacked! It wasn’t until I began to expand my horizons and looked at cupping in a more dynamic sense; not simply a suction cup a therapists places to increase fluid capture, but as a way to provide novel stimulus to a client without the need for continuous contact!
Not so recently, cupping came into more common knowledge following the famous picture of USA swimmer and most decorated Olympic athlete, Michale Phelps. With his shoulders and back looking like he had a tussle with a squid during practice. However, the full use and understanding may still elude many curious about how it may help them with their movement, performance, and rehabilitation goals.
This article will describe how I implement cupping that doesn’t involve you just laying on a table to help with low back pain.
Bringing awareness to hard-to-see places – Hip-hinging with non-specific low-back pain
Non-specific low-back pain is one of the most common symptoms I see when working. Typically, these causes come from a broad spectrum of places: long duration sitting, long-duration standing (ironic, I know), and poor motor. I mean a poor motor control’s lower ability to control the back, hips, and legs as separate and individual parts.
How I address the issue: A Real Client Example
-
Step 1: Assess
-
In this instance, the client has difficulty performing a hip-hinging movement without discomfort in their low back.
- The individual had a reduced ability to identify two-point discrimination and different letters/numbers traced on their skin. Essentially, they did not have a great perception of the area of pain.
-
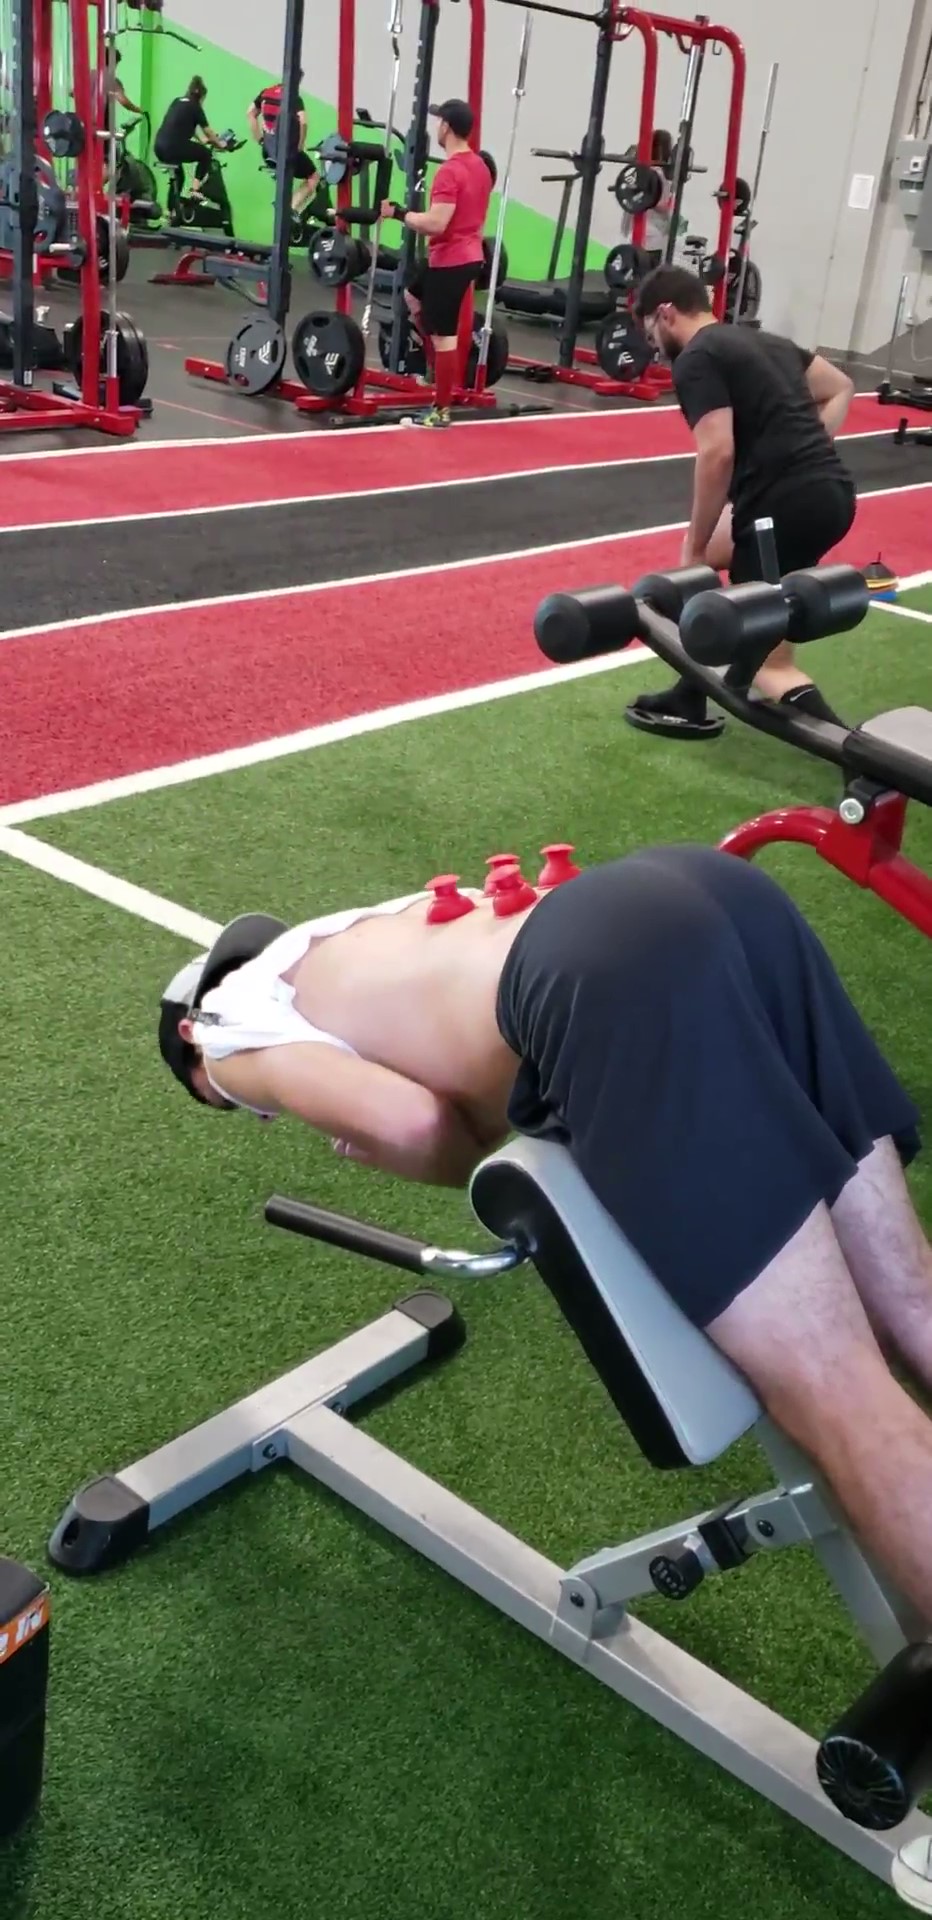
I will also place them in a 45-degree incline back extension for a movement-based test to see if they are stable.
- See the photo below.
- The pain was present while holding the position.
-
In this instance, the client has difficulty performing a hip-hinging movement without discomfort in their low back.
-
Step 2: Apply Cups
-
Following the information gathered, I placed cups above and below the region of issues on the back to provide novel stimuli, moderate pain relief, and increase awareness!
- My goal is not to irritate the area of focus to bring focus to the region.
- I then had my client move through the range of motion on the 45-degree inclined back extension to see if the cups alone helped.
-
Following the information gathered, I placed cups above and below the region of issues on the back to provide novel stimuli, moderate pain relief, and increase awareness!


-
Step 3: RockBand Flex
-
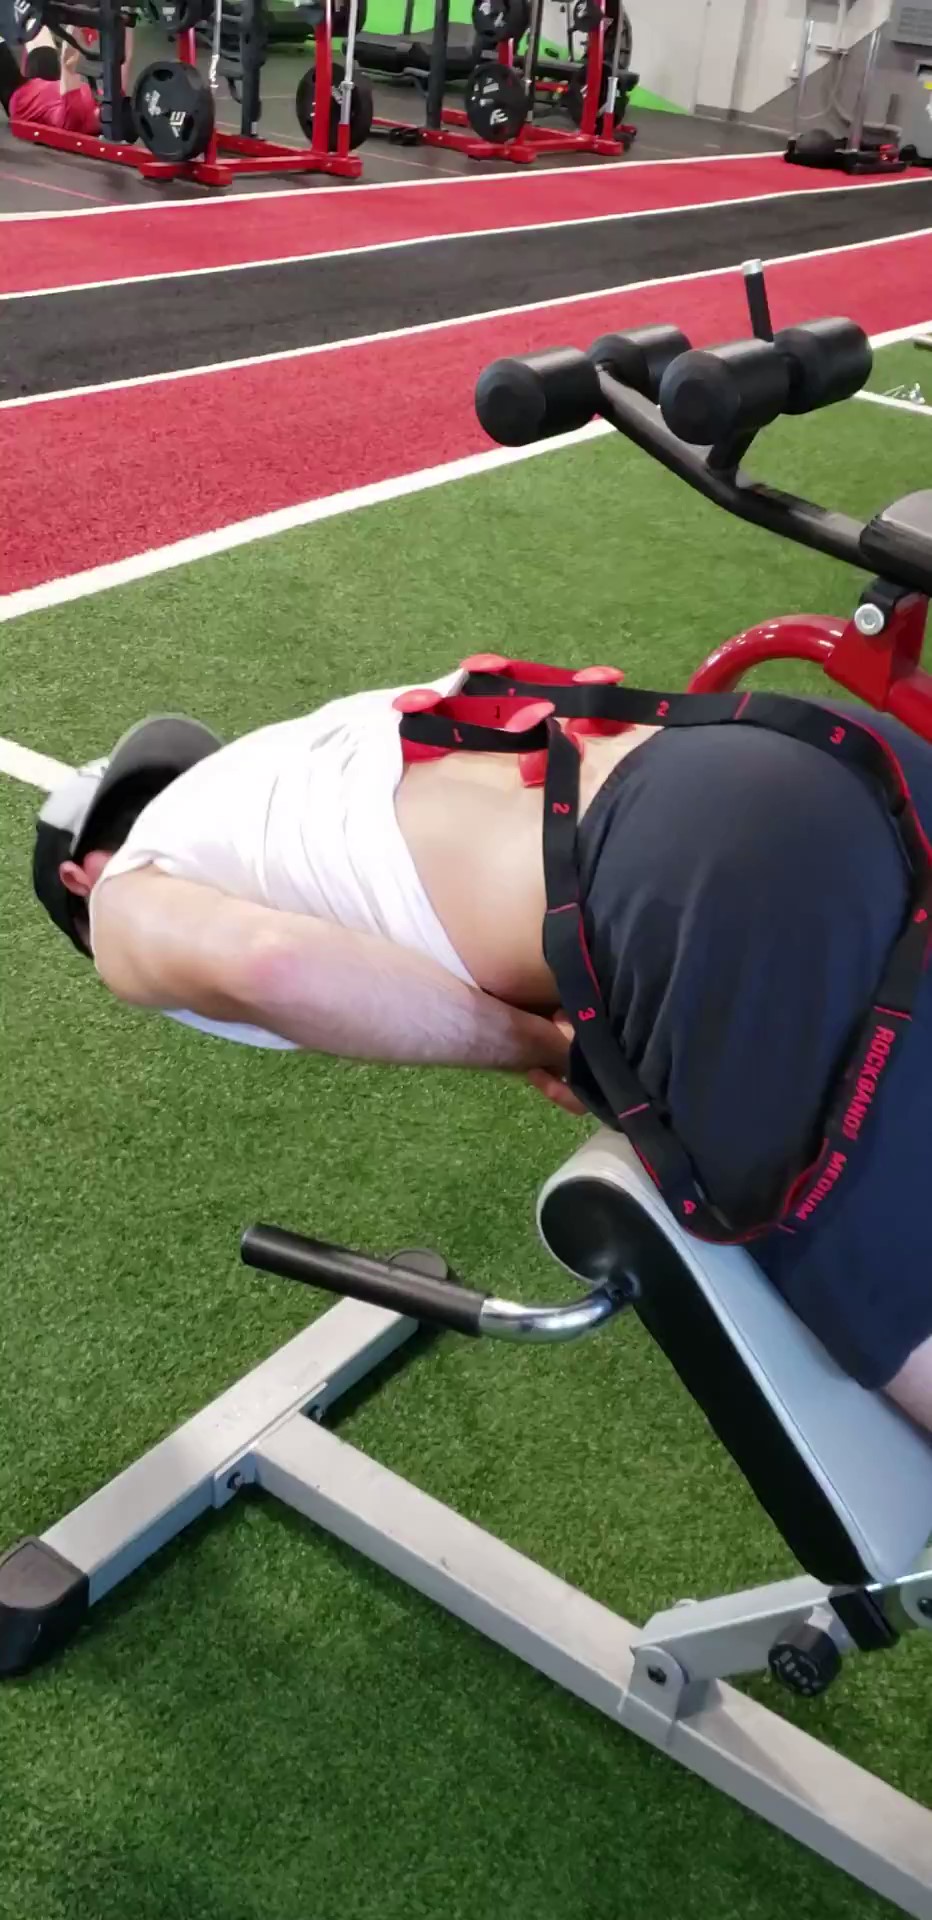
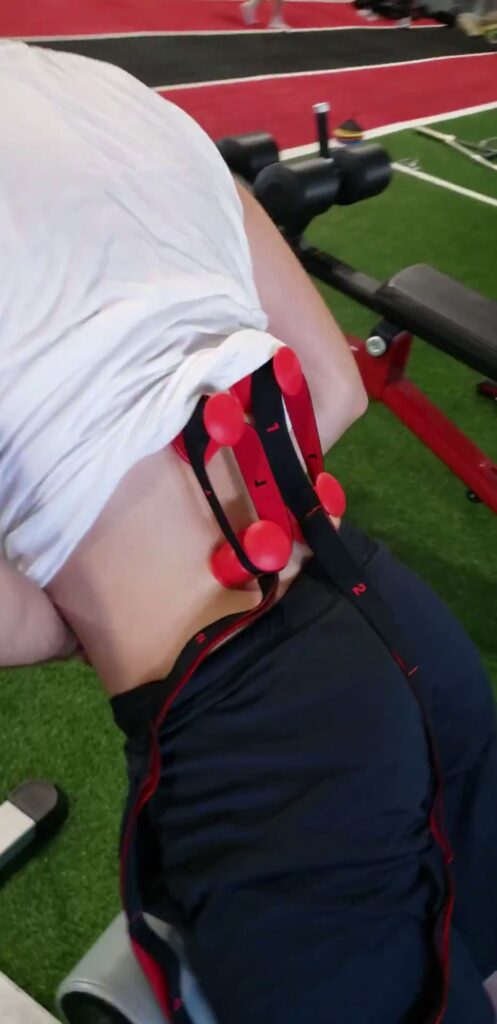
To add even more feedback, I then applied a band between the cups to resist flexion.
- In this case, the client could not keep a neutral spinal position when asked at the bottom of the hinge, possibly causing continued irritation.
- With the band in place, the client could FEEL what we were trying to accomplish and complete the movement as intended.
-
To add even more feedback, I then applied a band between the cups to resist flexion.


Look, Ma’ no HANDS! – What to take away.
During this entire procedure, I only had minimal contact with the client to apply novel stimuli. Not only was it low on the invasive scale, but we were also able to use our tools in different ways to achieve a positive outcome for a client. The central thesis here is not I have a hammer, so everything is a nail; instead, my hammer has two ends, so let’s explore where else I can utilize it.
Be creative, and don’t be afraid to be your guinea pig. The beautiful thing about the health field is the blending of scientific rigor and artistic expression.
Get Your Pods here
Learn how to use themhere
Troy Wilson


